Let’s Build a Hackintosh – 2017 Skylake Build (Part 2)
Assembly of my Skylake Hackintosh Build.

Let’s do this!
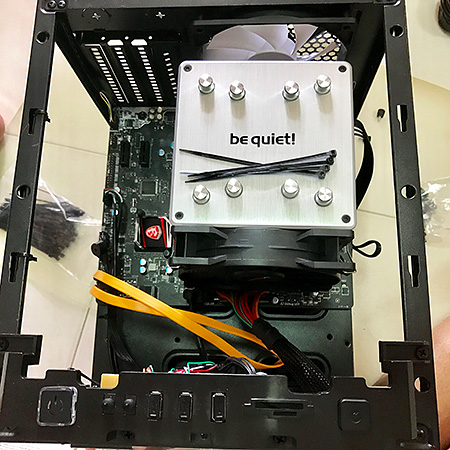
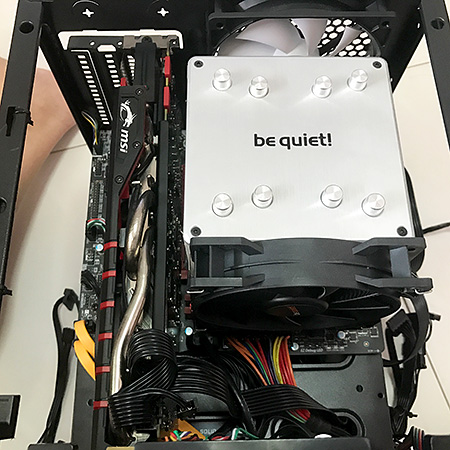
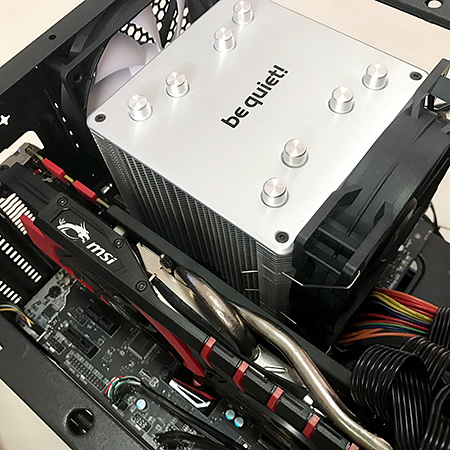
 After rounding up all the components for this build, the time to put it together has finally come. Assembly was pretty straightforward, the only thing puzzling was how to install the massive CPU cooler without resorting to black magic. It is so big that installing it on its mounting brackets when the motherboard has already been settled in the casing was never an option – the monstrous heatsink fins tower just right over the RAM slots leaving no room at all to securely screw the cooler in place.
The only way around it was to pre-install the Shadow Rock 2 before mounting the motherboard in to the casing. the combined height of the MoBo and the cooler was a tad more than the casing frame thus making it impossible to straightforwardly slot them in from the side openings.
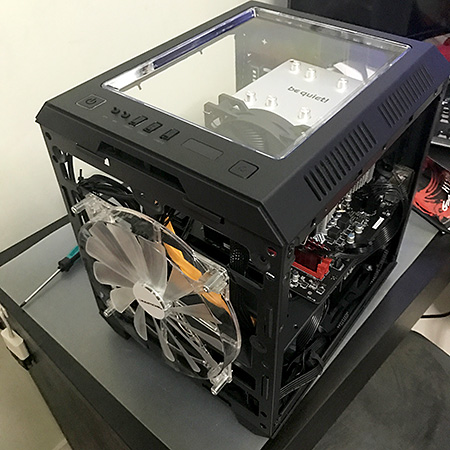
Thank God that the Tecware Quad Cube casing opens up fully form the top as well. With a little bit of manoeuvring coupled with agile ninja moves, I was able to angle it in from the top of the chassis and properly mount the MoBo with the heatsink attached. I must say, it is well worth the trouble… it looks amazing.
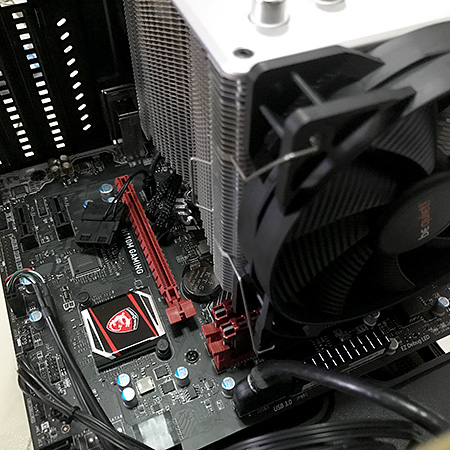
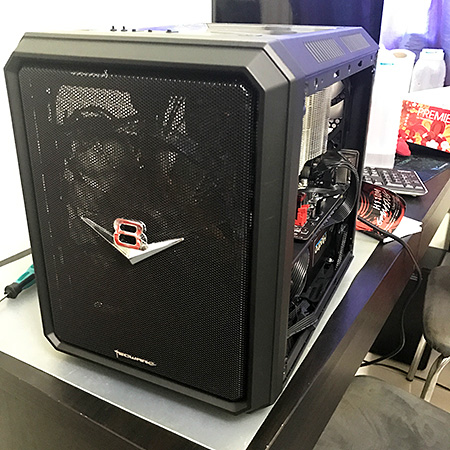
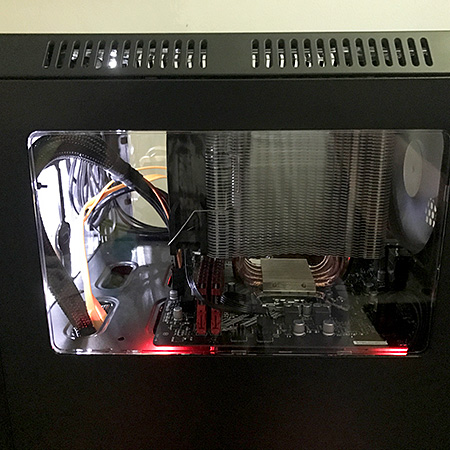
With everything having the red, black and aluminium colour scheme. Then just having a little touch of accented yellow colour for the SATA cables – the build looks very much like the inside of an engine bay.
Assembly Gallery
-
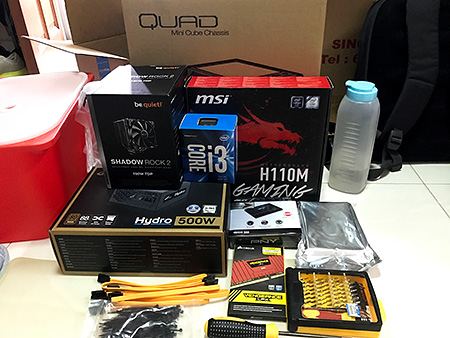
- A poor attempt at knolling
-
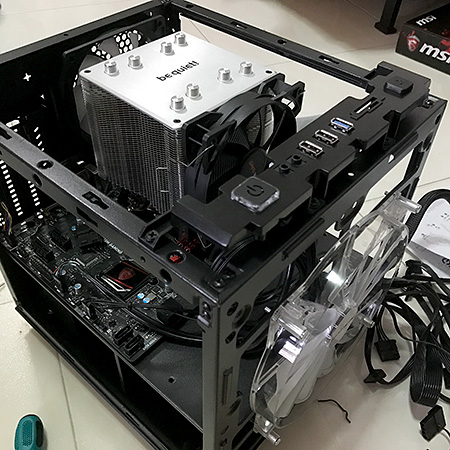
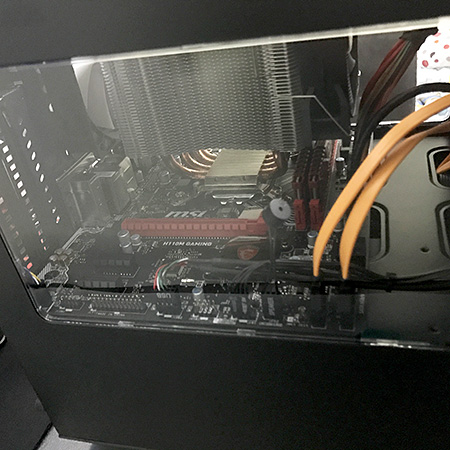
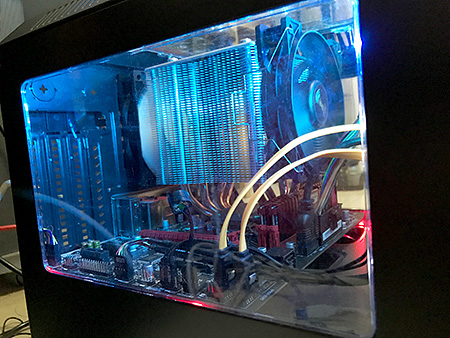
- Big block engine
-
- Barely enough room for the GPU
-
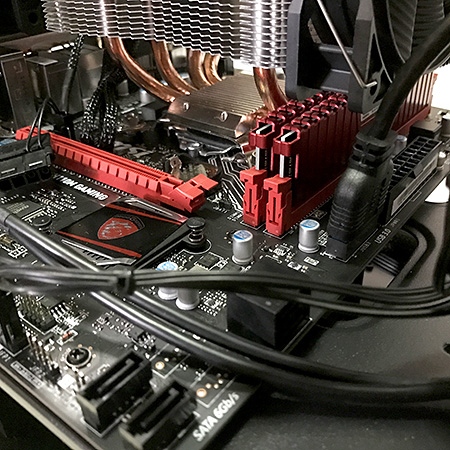
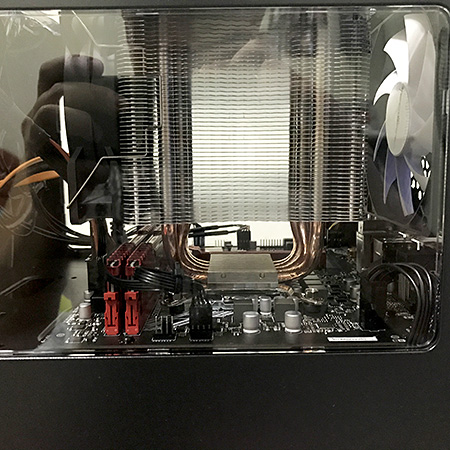
- Just enough clearance for the RAM sticks
-
- Cable Management 101: Black zip ties are your bestfriends
-
- Almost ready to rev this bad boy up
-
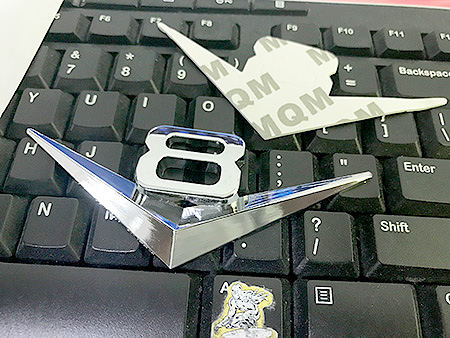
- Silver surfer is as excited as I am to stick this V8 emblem
-
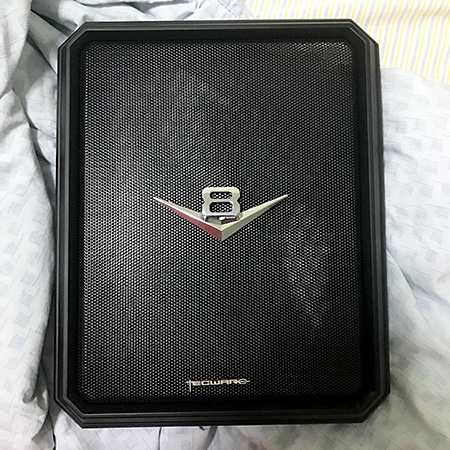
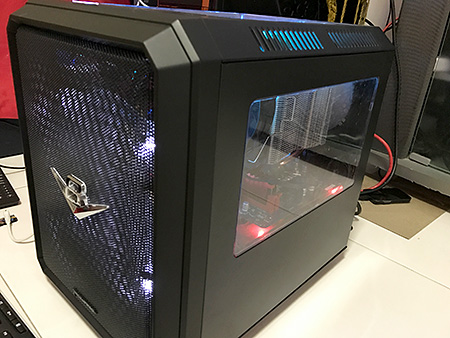
- Mesh grill with V8 emblem
-
- Nice…
-
- Starboard view
-
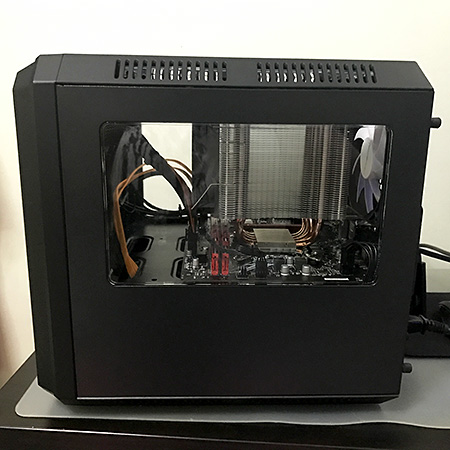
- Port view
-
- Closer look at the ‘engine’
-
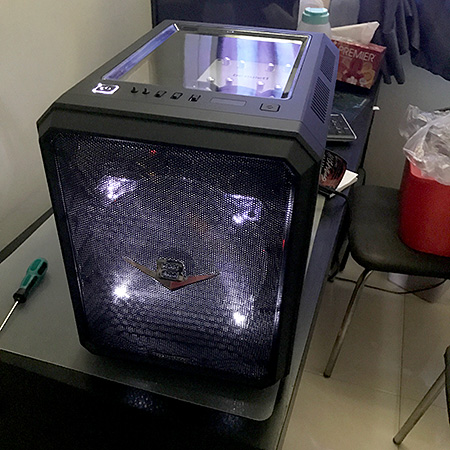
- Stock 200mm white LED fan
-
- And we’re up and running
-

- RGB strip loaded…
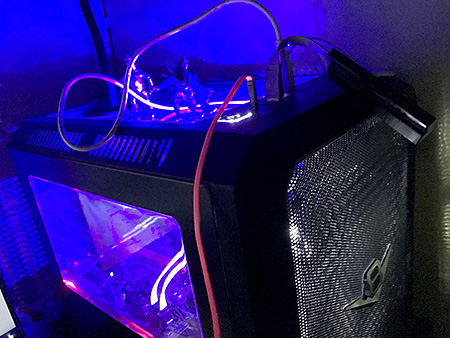
Meet the ‘Skylake Hot Rod’
The whole black, red and aluminium theme turned out pretty well. Having the massive aluminium ‘big block engine’ smack in the center of the build really hits the mark on achieving the 30s hot rod look that I was gunning for.

-
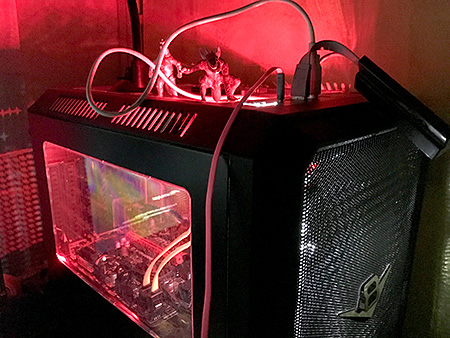
- Ambient red LED lights of the mobo
-
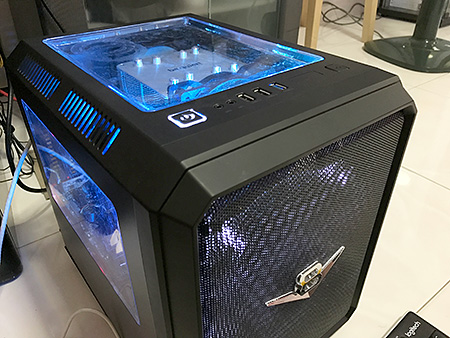
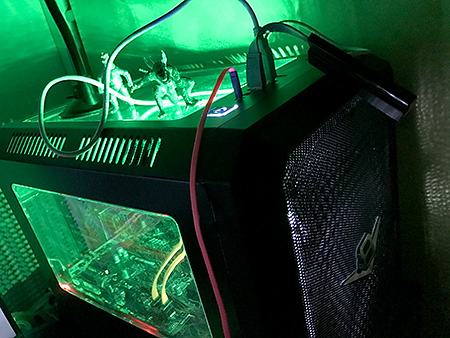
- The LED strip illuminates all 3 panels and the top exhaust grills
-
- Look at that beauty, sans monster GPU
-
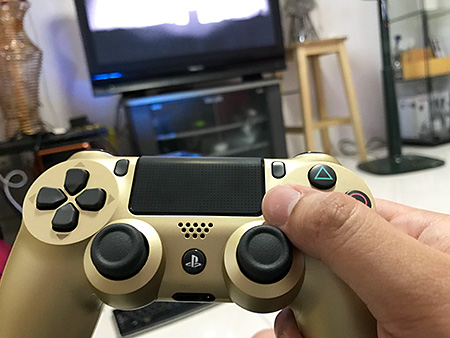
- Bling DualShock 4 where shoryukens and god fists will be hailed form
-
- Aahrr
-
- Ghee
-
- Bee
Adding the Turbocharger
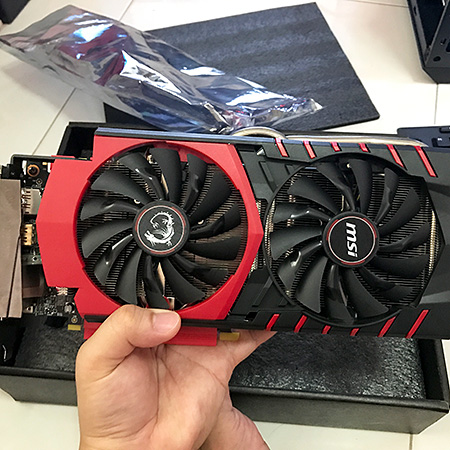
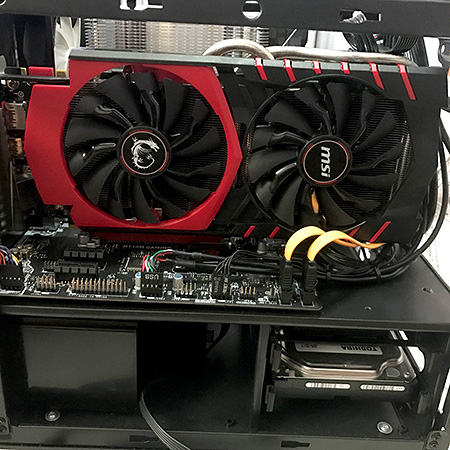
 As originally planned, I am turbocharging this bad boy with a GTX 970. As of writing, Pascal cards are now support by MacOS Sierra. But since the 10xx cards have already been out for some time, the series 9 GPUs are selling at very good prices in the pre-owned market. In this month (May 2017), buying a new GTX 1060 will cost S$300 and up. The MSI Gaming 1070 is going for about S$500 up. Sheesh. For a lot less and a comparable performance to the 1060 (both cards will allow me to effortlessly game 1080p in ultra settings), I am very blessed to have been able to snatch up an MSI GTX 970 that is still under 2 years of warranty for only S$200. The previous owner is an avid gamer who’ve just upgraded to a Pascal card and looking to get additional funding for a two-way SLI by selling of his old card. Wherever you are Ryan, thank you! You are truly awesome – everything is in pristine condition, even the box and receipt.
(Get yours here: http://ho.lazada.sg/SHN3uW?keyword=MSI%20GTX%201060)
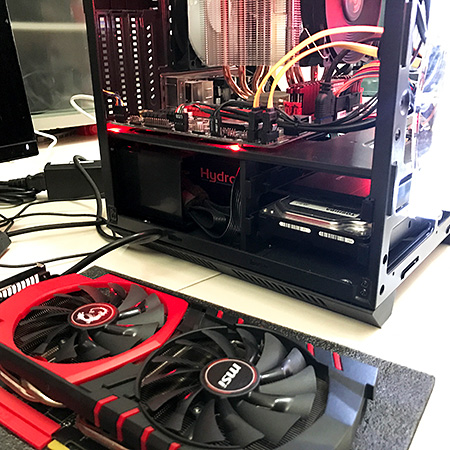
I’m not actually complaining, especially since I was already anticipating how awfully big the graphics cards is for such a small chassis, but it really IS DAMN BIG. One can never truly appreciate the advanced planning of building a rig until the time comes when everything just fits nicely into place with just enough room to manoeuvre your short fat fingers between the components.
I was praying the whole time that I didn’t f*ck up the measurements beforehand. And as I was ‘forcing’ the GPU into position, it kinda reminded me of how awkward it would’ve been if Arya Stark and The Hound shacked up. But I digress… below are a few snaps from the GPU installation.
Gallery: GPU Unboxing & Installation
-
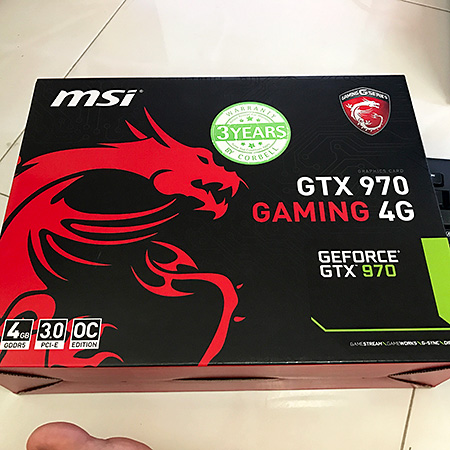
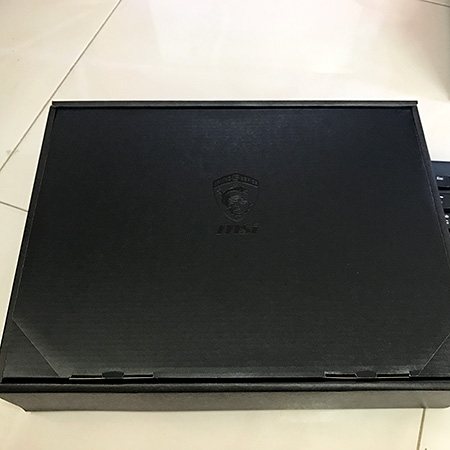
- Boxed up and still in pristine condition
-
- Really nice upmarket branding by MSI
-
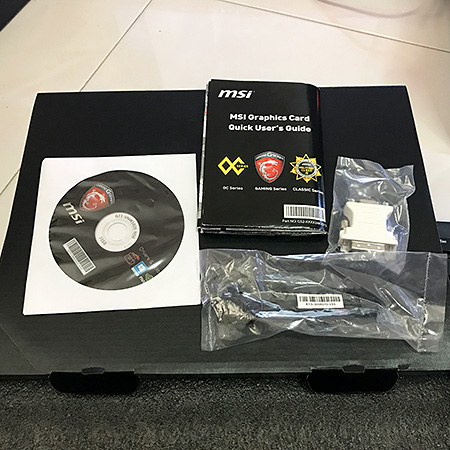
- Came with all the accessories (SLI and DVI adapter)
-
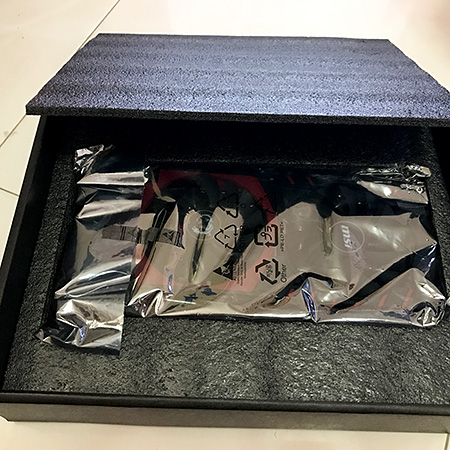
- Original anti-static bag
-
- Just like new
-
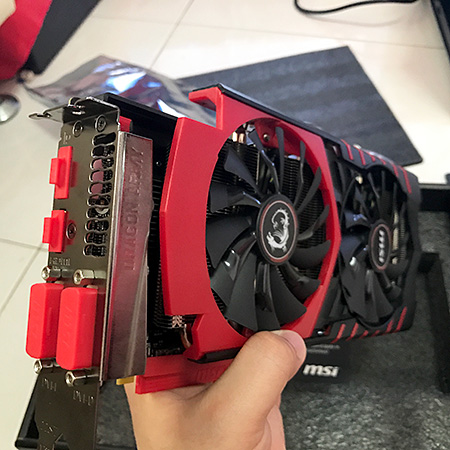
- Even the port covers are intact
-
- This THIS into that.
-
- Barely enough wiggle room
-
- I was afraid that a full sized GPU won’t sit well with the oversized heatsink
-
- Everything turned out just perfect
Rate my rig!
I’d love to hear what you guys think of my first hackintosh rig… Do you think I should’ve used any other particular part? Could’ve I have picked any better component for a similar price point? Is there anything else that you think I should be adding to the build? Should I have just bought a Mac Mini and a PS4? Does this make you want to build your own hackintosh? Feel free to share your thoughts in the comments section below.
For posts on component unboxings, installations and whatnot’s with this build do visit the links below:
Part 1: Let’s Build a Hackintosh
Part 2: Assembly (y’er already here)
Part 3: Installing Windows 10 (coming soon)
Part 4: Installing macOS (coming soon)
Part 5: Post Mortem (coming soon)
Unboxing/Reviews:
- Storage: PNY CS1311 SSD and Toshiba 1TB HHD
- Chasis: Tecware Quad Mini Cube
- PSU: FSP Hydro 500W 80+ Bronze
- Core Components (MoBo, CPU, Cooler, RAM): MSI H110M Gaming, Intel i3-6100, be quiet! Shadow Rock 2, Corsair Vengeance LPX
> Recent Posts
[Sale Alert] Buy a shirt will ya?!
Shameless Plug: $15 Tees + Everything Else on Sale Sale prices as marked. $15 price only applies to Regular T-shirts. Ends 9/12 at 5 PM CT. For more gaming-inspired graphic tees, please visit my Threadless Artist Shop: https://smaaash...
Bucket List #4: Attend an E3 convention, Comicon or something similar
#KidForLife (October 12, 2019) This post is a year late, and thanks to COVID-19 most of us are feeling an extra bit older than we should be. But finally having some ‘me time’ to rummage through my photos, I scrolled to this event and couldn’t help but feel nostalgic and remember how this bucket list item made me feel like a child again...
Bucket List #12: Experience Flying
Cowabunga! (October 5, 2017) …was probably the last word in my mind as I struggle to express the unholy mix of sheer excitement and overwhelming horror while I ‘fly’ down across Skyranch Tagaytay’s zipline...
Rockstar for hire.
I help businesses create memorable branding experiences for their customers.